Create Public instance
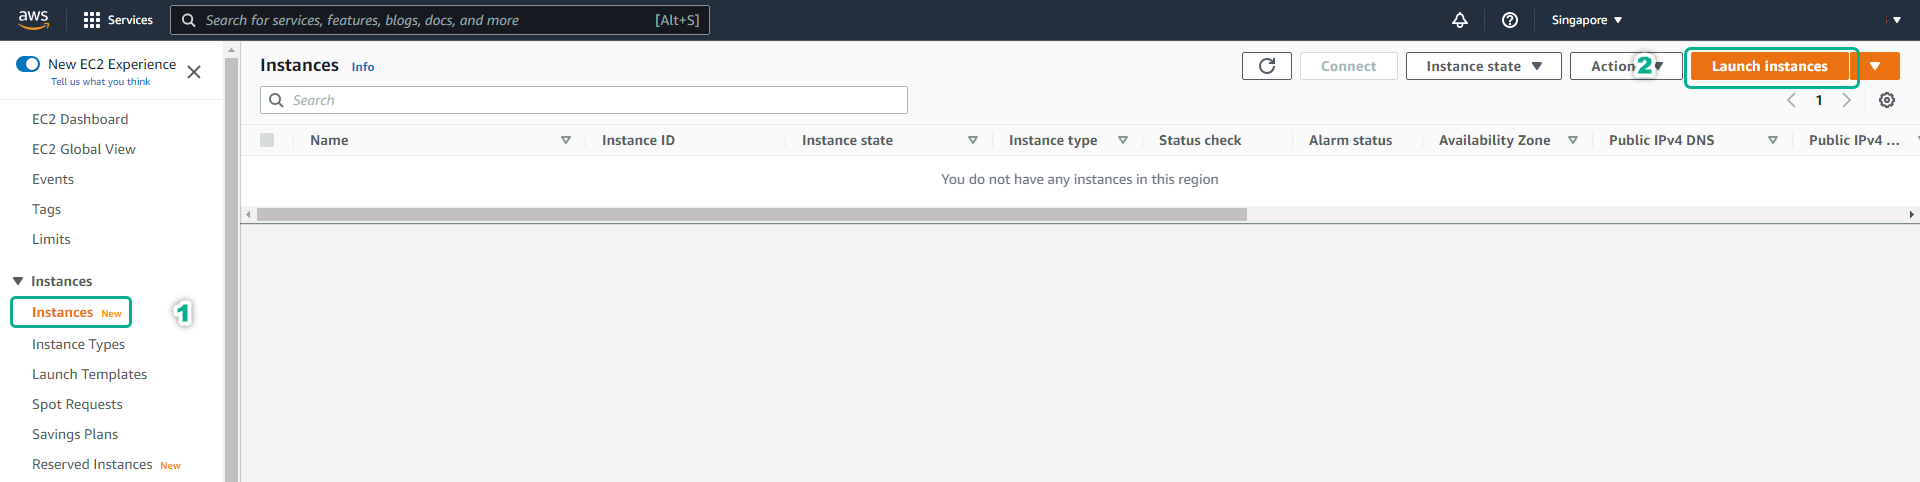
- Click Instances.
- Click Launch instances.
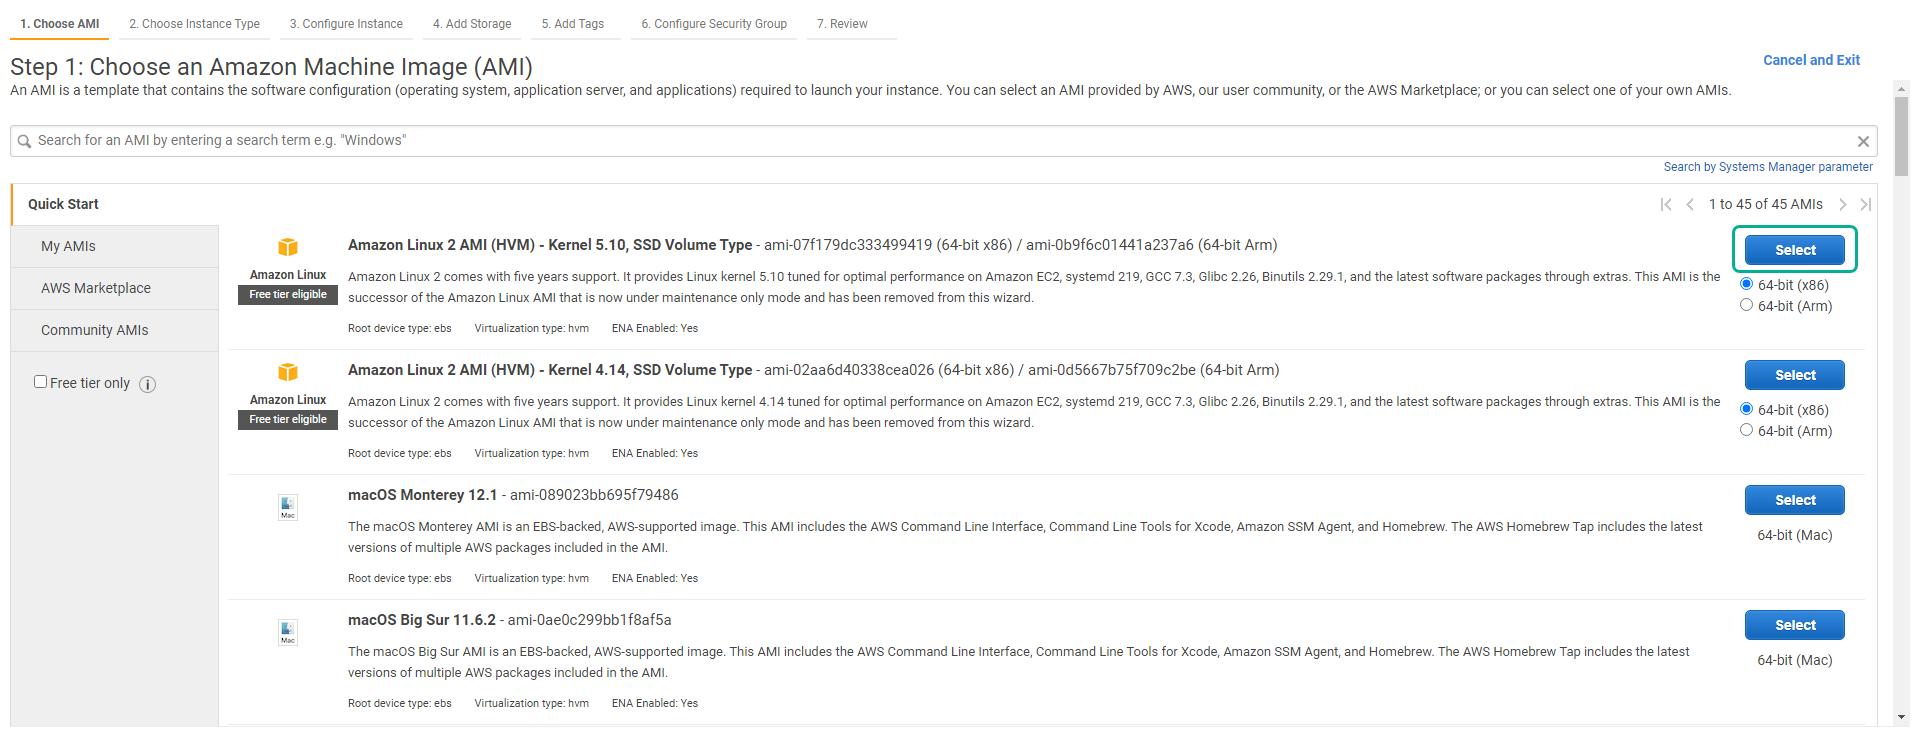
- On the Step 1: Choose an Amazon Machine Image (AMI) page.
- Click Select to select AMI Amazon Linux 2 AMI.
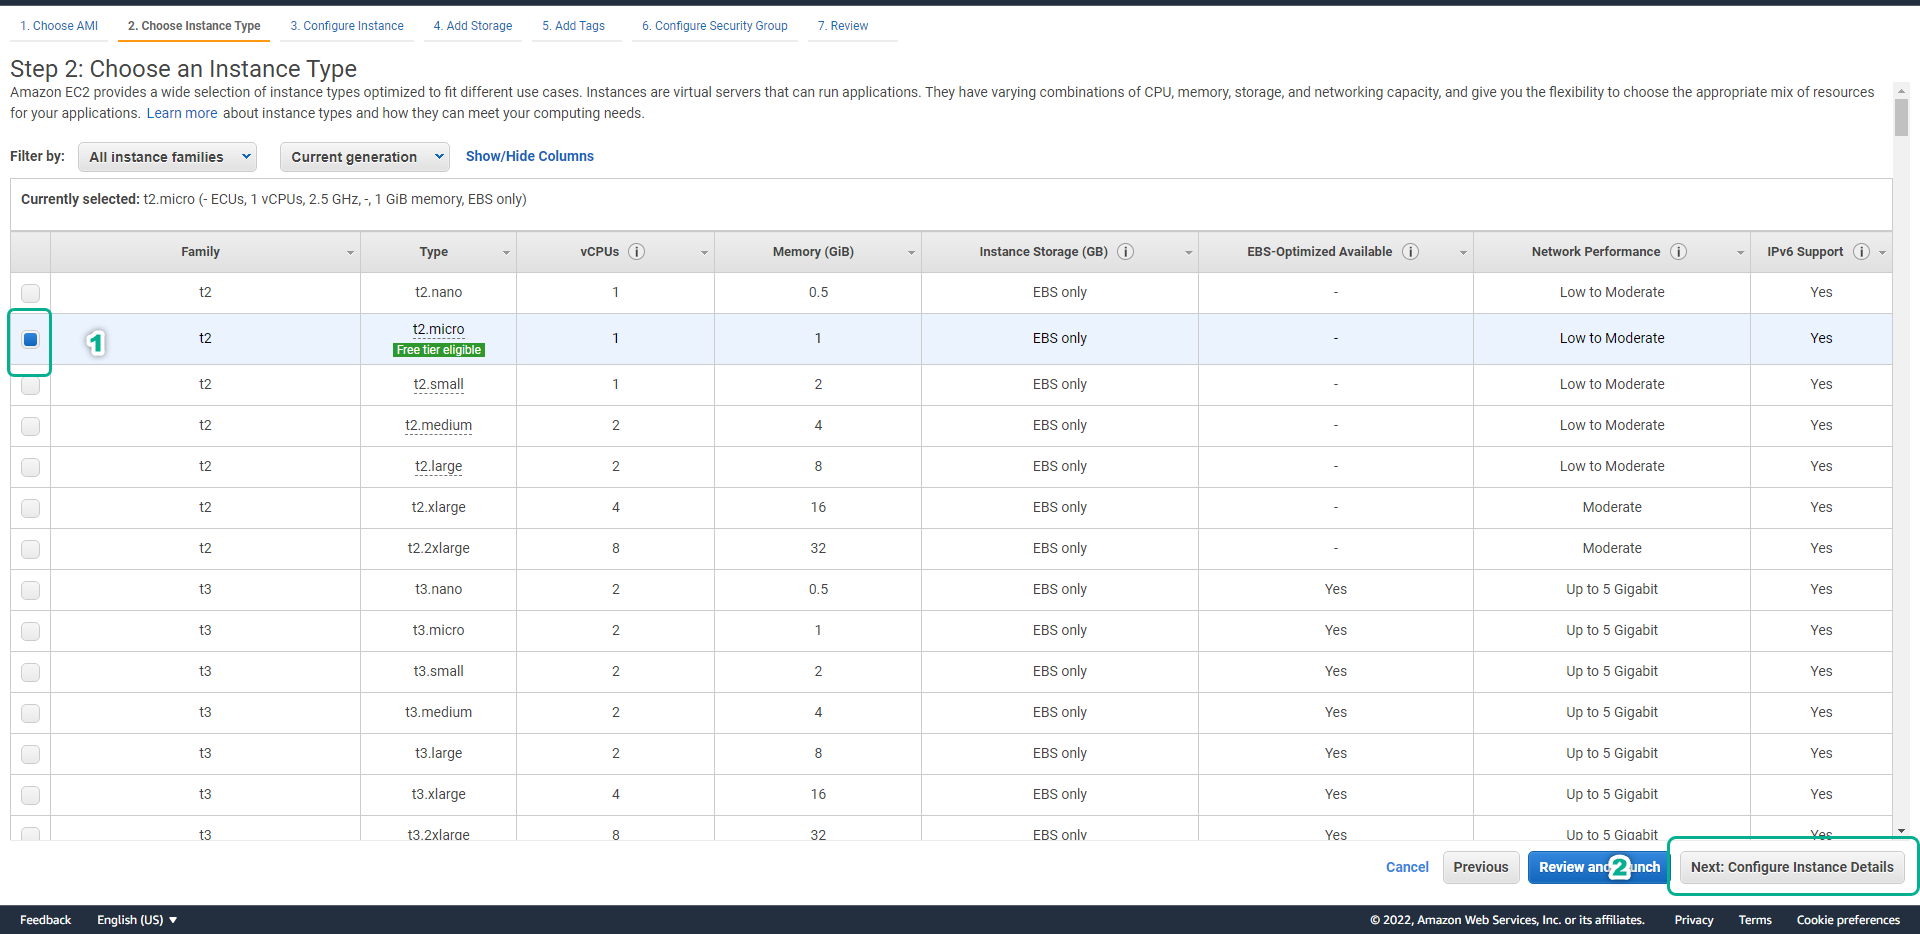
- On the Step 2: Choose an Instance Type page.
- Click on Instance type t2.micro.
- Click Next: Configure Instance Details.
- At Step 3: Configure Instance Details page
- In the Network section, select Lab VPC.
- In the Subnet section, select Lab Public Subnet.
- In the Auto-assign Public IP section, select Use subnet setting (Enable)
- Click Next: Add Storage.

- Click Next: Add Tags to move to the next step.
- Click Next: Configure Security Group to move to the next step.
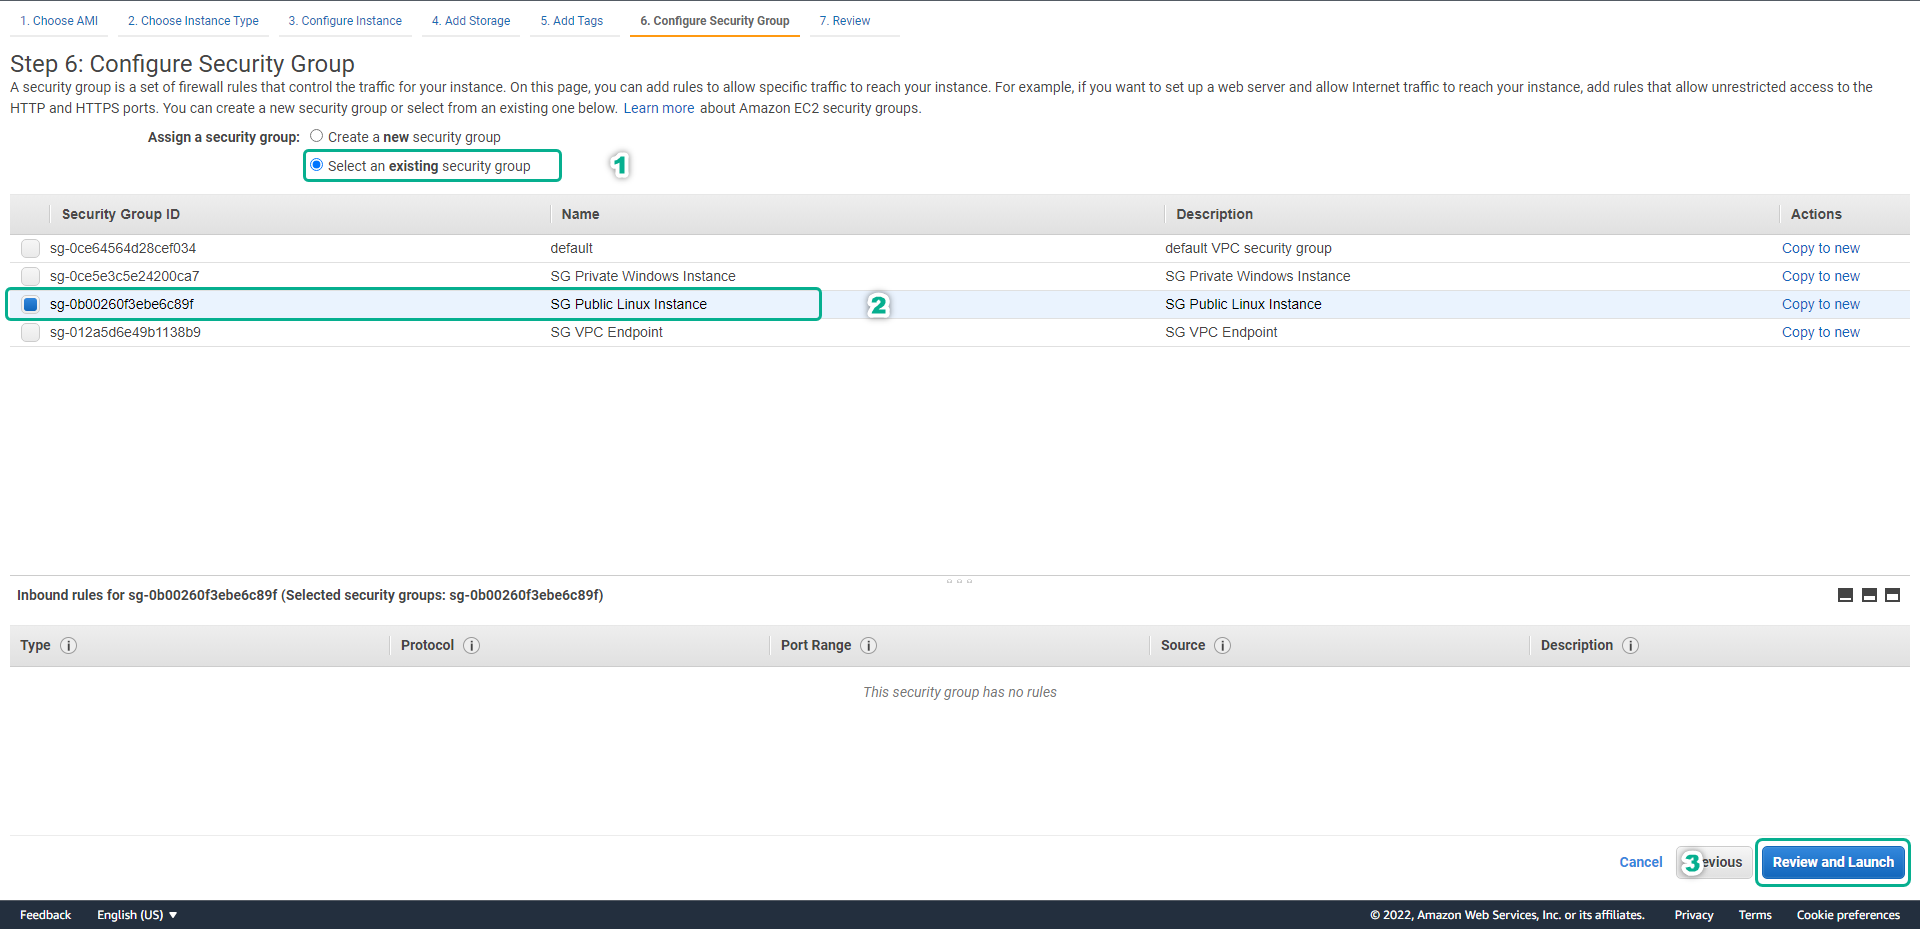
- On page Step 6: Configure Security Group.
- Select Select an existing security group.
- Select security group SG Public Linux Instance.
- Click Review and Launch.
The warning dialog box appears because we do not configure the firewall to allow connections to port 22, Click Continue to continue.
At page Step 7: Review Instance Launch.
- Click Launch.
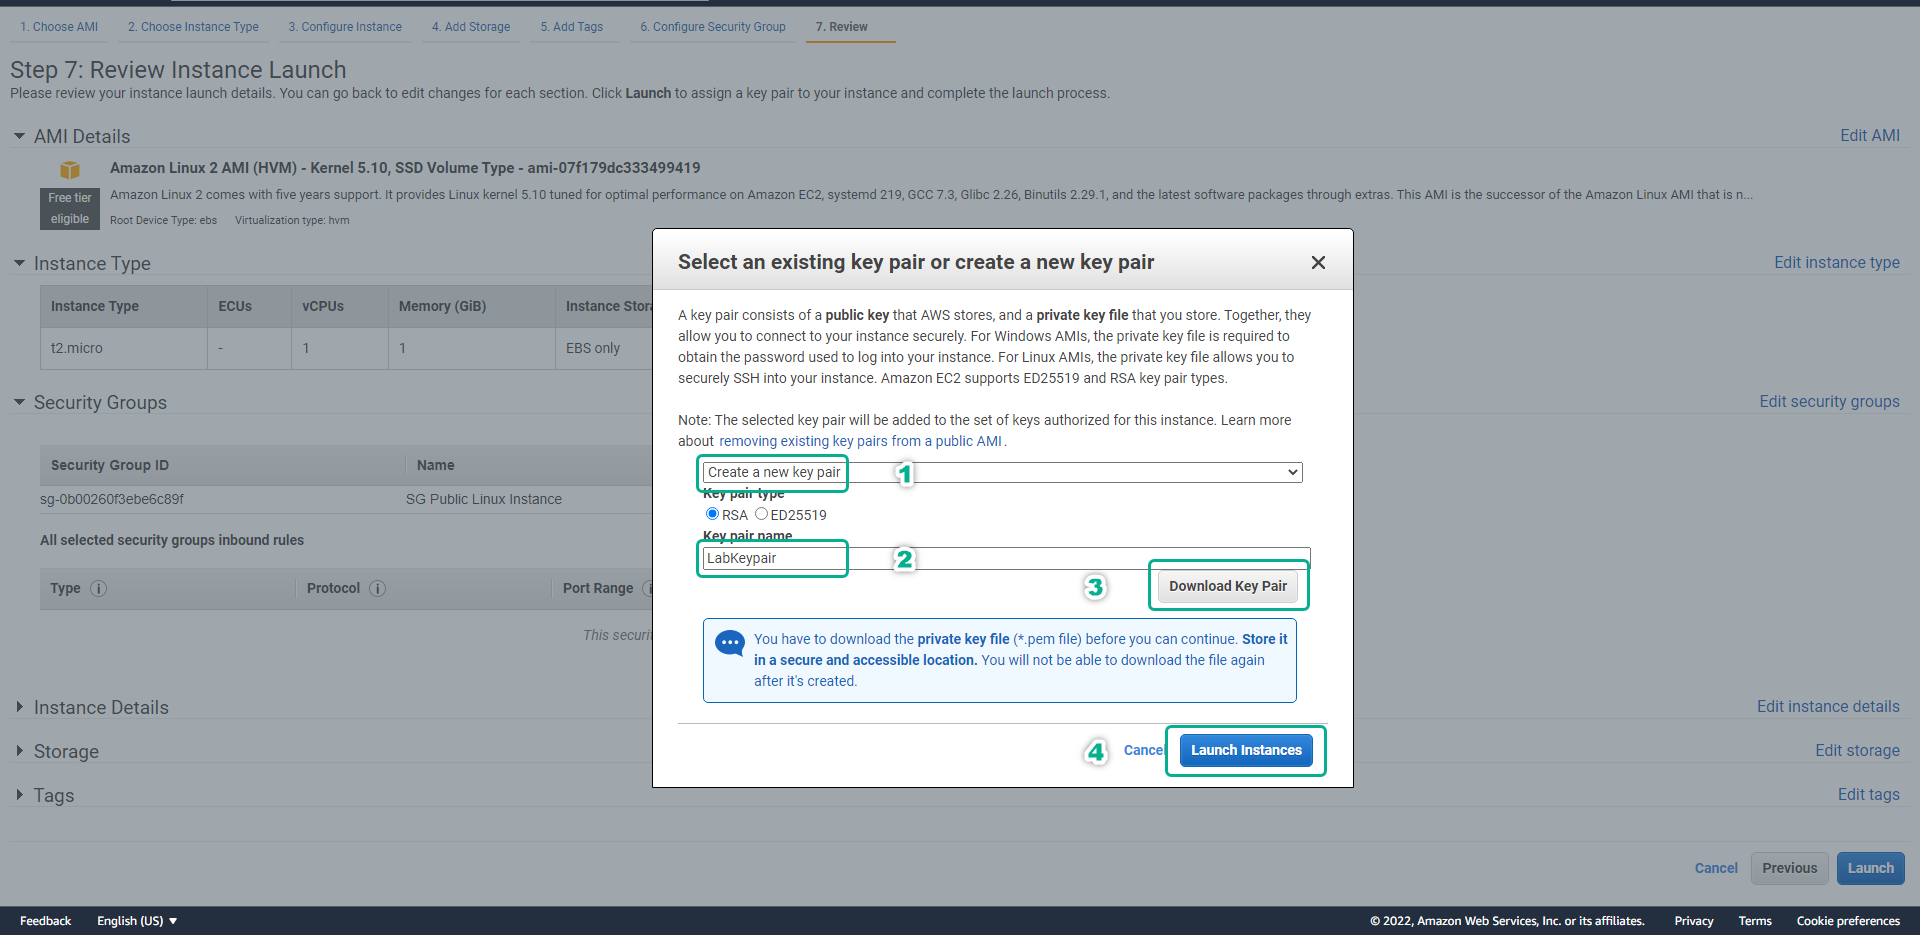
- In the Select an existing key pair or create a new key pair dialog box.
- Click to select Create a new key pair.
- In the Key pair name field, enter LabKeypair.
- Click Download Key Pair and save it to your computer.
- Click Launch Instances to create EC2 server.
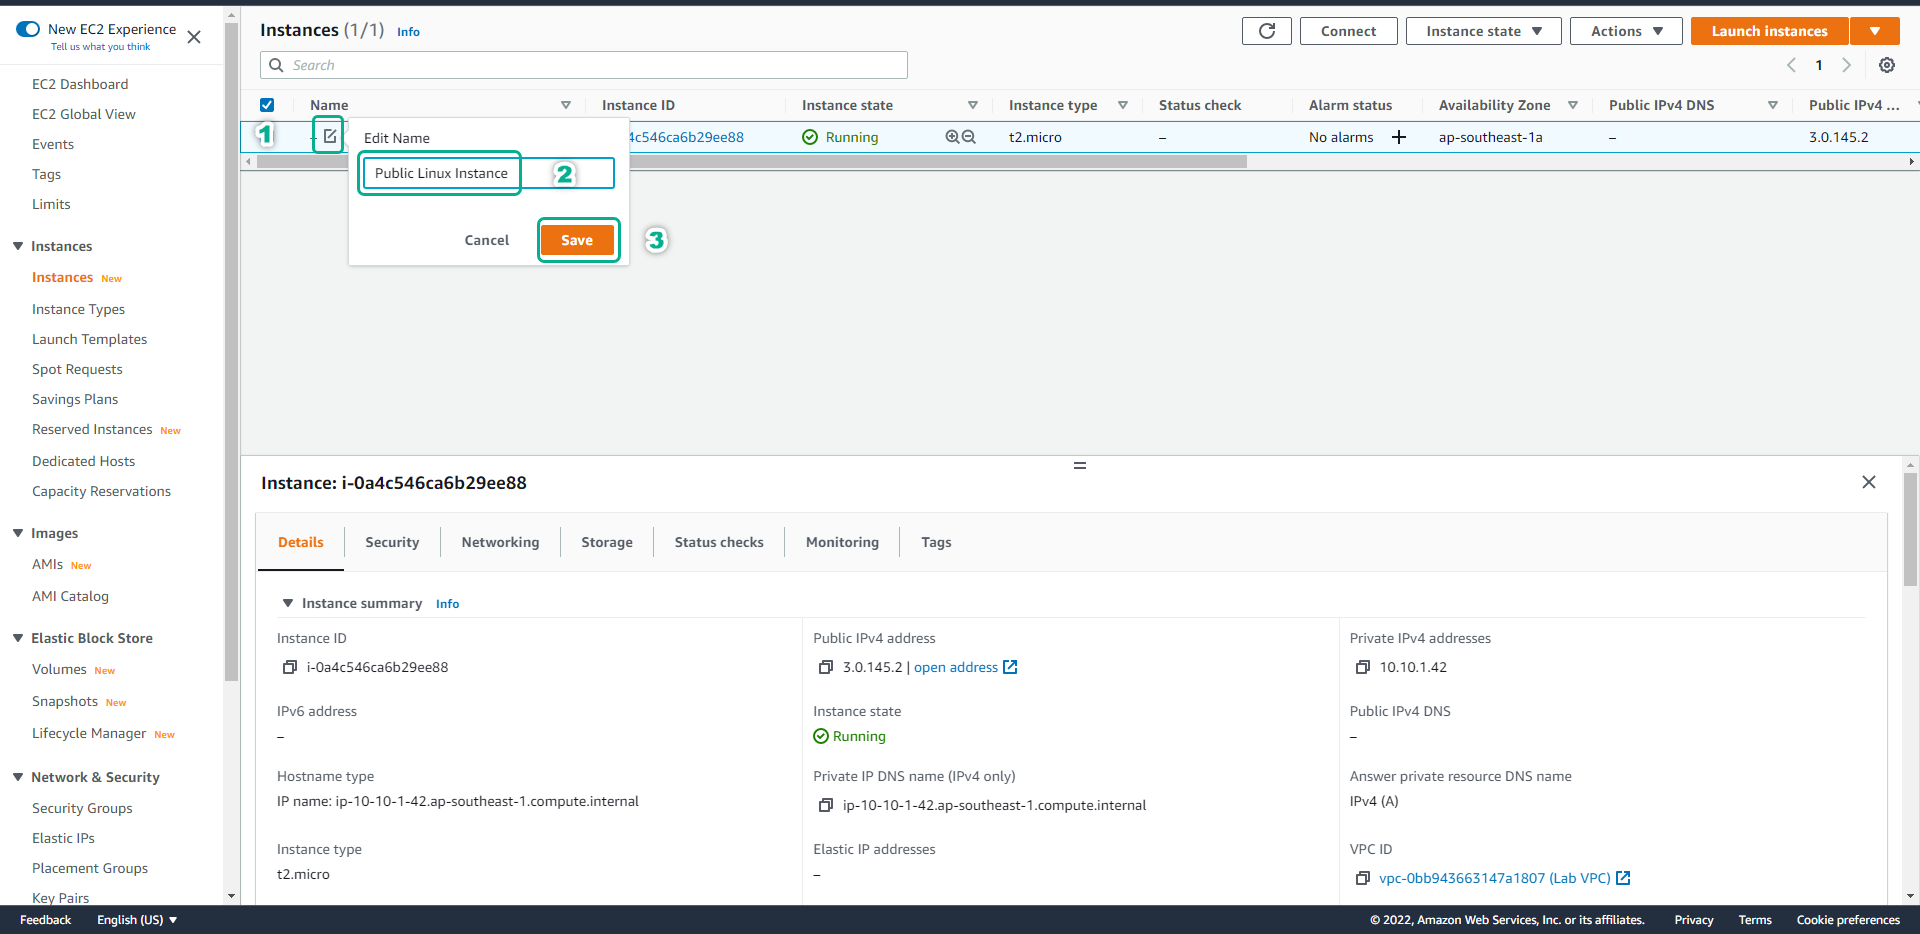
Click View Instances to return to the list of EC2 instances.
Click the edit icon under the Name column.
- In the Edit Name dialog box, enter Public Linux Instance.
- Click Save.
Next, we will do the same to create an EC2 Instance Windows running in the Private subnet.